While Macs and Linux seem to be the first choice among engineers, I find it more comfortable using Windows for my personal development work. There are a few main reasons for this:
- The experience from building a PC is quite satifactory, you get to learn about the specs of the components and choose which one fits your needs, it’s like another engineering tasks. With Macs, you can only choose an off-the-shelf product.
- Hardware support: at the time of writing this post, the Elgato HD60S capture card I use is not yet compatible with Mac and Linux, this makes my stream & blogging workflows disconnected.
- Productivity software support: I work for a multi-national company where I use Zoom 75% of my time to meeting up with others. And as you know, Zoom, webcams, microphones, capture devices have a weird way to work with Linux that I could never figure out how. This reduces my productivity a lot. Windows it is.
This post document how I set up my home PC for development with Ubuntu WSL (Windows Subsystem for Linux) on Windows 10, Nodejs, AWS. If you are running just Ubuntu of VMs or barebone, you can skip Installing Ubuntu WSL part.
Install Ubuntu WSL on Windows
Traditionally, if you want to use Linux with Windows, you have 02 options: Dual boot or using Virtual machines. Recently Microsoft had create Windows Subsystem for Linux which allows Linux lovers to enjoy the best of both worlds without the overhead of the options above. Excerpt from Microsoft:
The Windows Subsystem for Linux lets developers run a GNU/Linux environment – including most command-line tools, utilities, and applications – directly on Windows, unmodified, without the overhead of a traditional virtual machine or dual-boot setup.
Let’s install Ubuntu WSL 20.04LTS from Microsoft Store, Microsoft has made it extremely easy for Windows 10+ where it’s just an 1-click install directly from the store.

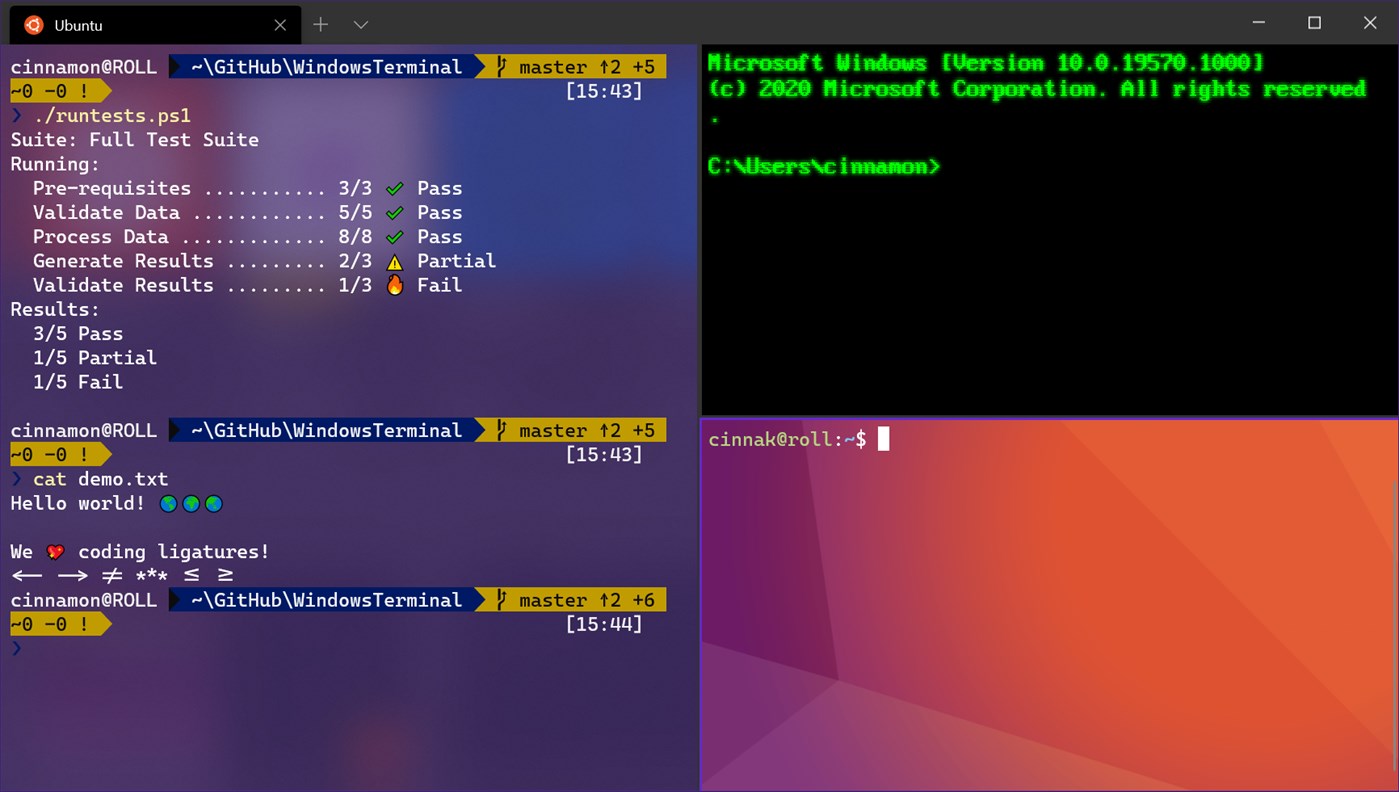
Next, you need to install Windows Terminal to have your shell terminals to be organized into tabs, otherwise you will end up with tens of open terminal windows and you will lose track, here is what Windows Terminal looks like:
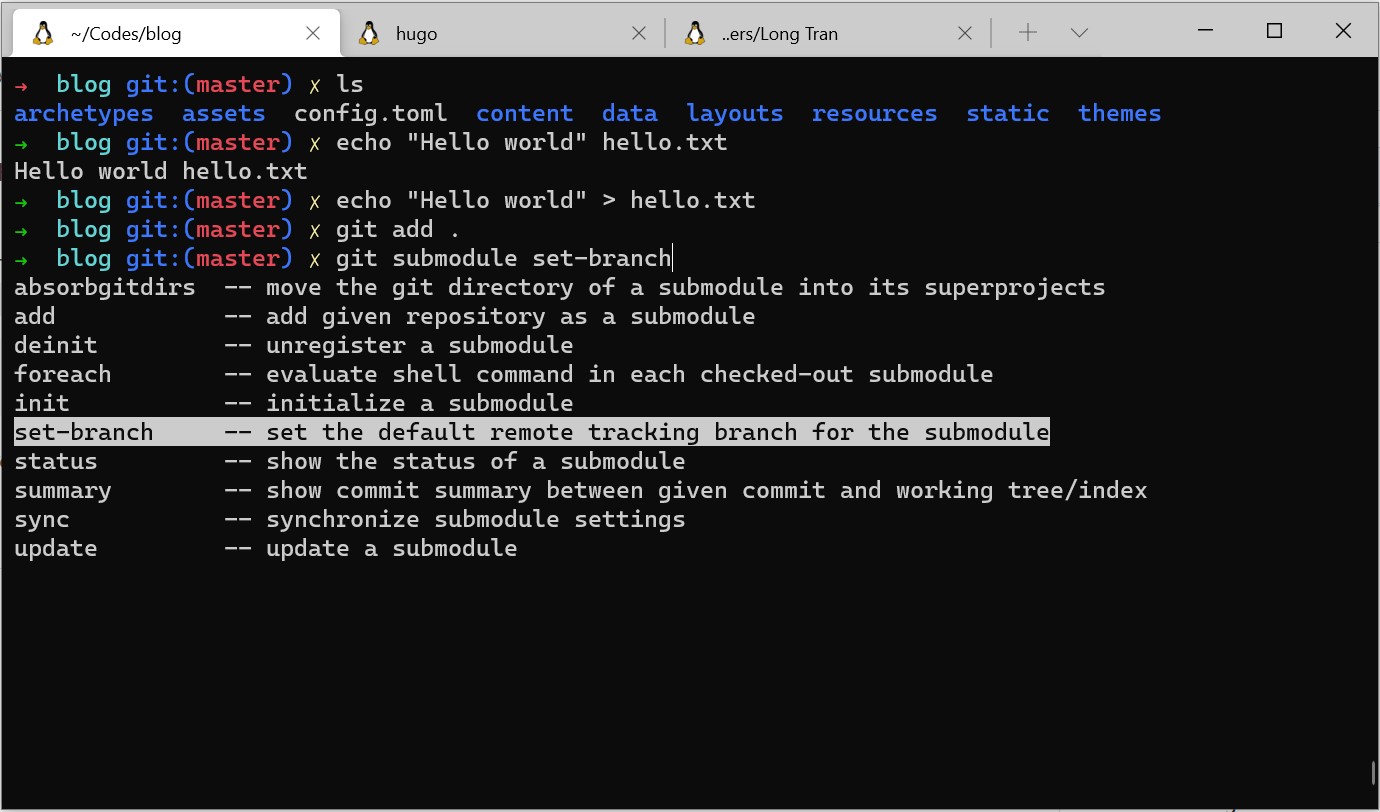
Now, let’s move to the cool stuffs Power-Up shell ZSH, SSH keys and Brew
Working with Linux, shell (command line) is your home, and by default, it’s /bin/bash. It’s really good already compared to Command Prompt in Windows. However, once you try /bin/zsh, you would feel like you are wearing Iron Man Mark L suit, fighting against Thanos, it heals itself.
Installing zsh and oh-my-zsh is simple, without any plugins, this should already get you started easily:
# location: https://gitlab.io/long-tran/dev-machine/linux.sh
# install zsh
$ sudo apt install zsh
# and then oh my zsh
$ sh -c "$(curl -fsSL https://raw.github.com/ohmyzsh/ohmyzsh/master/tools/install.sh)"
Next, you need to set up SSH keys to get you moved around securely in your servers with SSH and with git.
# create ssh key for related commands such as git, ssh...
$ ssh-keygen -t ed25519
Generating public/private ed25519 key pair.
Enter file in which to save the key (/home/long/.ssh/id_ed25519):
Enter passphrase (empty for no passphrase):
Enter same passphrase again:
Your identification has been saved in /home/long/.ssh/id_ed25519
Your public key has been saved in /home/long/.ssh/id_ed25519.pub
The key fingerprint is:
SHA256:G6IDueteMSk[MASKED]tlaymErzmhmwM long@DESKTOP
The keys randomart image is:
+--[ED25519 256]--+
|o+o .+o+.        |
| .O + ..S+ +     |
| .O + ..S+ +     |
| .O + ..S+ +     |
| .O MASKED +     |
|.o E +..+oo      |
|.o E +..+oo      |
|.o E +..+oo      |
| o+  o.          |
+----[SHA256]-----+
One important thing, you will be prompted to key in your passphrase everytime you use the key for SSH or git. What I usually do is using ssh-agent. ssh-agent caches your key in the current shell session so you will never have to key in your passphrase again. So, what you should also do is to add ssh-agent and ssh-add YOUR-KEYS to your start up script when you start the shell (which is the ~/.profile, ~/.bash_profile, or the ~/.zprofile). For me, I have 02 keys for the servers at Digial Ocean and AWS, here is how I add the 02 keys in:
$ echo "eval `ssh-agent`" >> ~/.profile;
$ echo "ssh-add ~/.ssh/id_ed25519" >> ~/.profile;
$ echo "ssh-add ~/.ssh/aws_long_tran.pem" >> ~/.profile
# by default, zsh does not trigger ~/.profile, we need to instruct ~/.zprofile to do so
$ echo "emulate sh -c '. ~/.profile'" >> ~/.zprofile
From the next time on, when you start a new Ubuntu WSL session with Windows Terminal, you will be prompted to key in the passphrases. You can always skip this by hitting Enter if you don’t plan to use git or SSH for the session.
Agent pid 32032
Enter passphrase for /home/long/.ssh/id_ed25519: *********
Identity added: /home/long/.ssh/id_ed25519 (long@DESKTOP)
Enter passphrase for /home/long/.ssh/aws_long_tran.pem: ********
Identity added: /home/long/.ssh/aws_long_tran.pem (/home/long/.ssh/aws_long_tran.pem)
$
Ubuntu’s apt package manager is a great tool for installing software for Ubuntu. However, it’s only for Ubuntu, it’s not even working with other Linux distros like Red Had, OpenSuse, Arch… let alone MacOS where I have to come back and forth very often. Brew is a great alternative that works on both Linux (all distros) and MacOs. So, unless you only have Unbuntu and plan to use Ubuntu for the rest of your life, apt is great. Otherwise, get to know Brew. To install Brew:
$ /bin/bash -c "$(curl -fsSL https://raw.githubusercontent.com/Homebrew/install/HEAD/install.sh)"

# add Homebrew to your command line
$ test -d ~/.linuxbrew && eval $(~/.linuxbrew/bin/brew shellenv)
$ test -d /home/linuxbrew/.linuxbrew && eval $(/home/linuxbrew/. linuxbrew/bin/brew shellenv)
$ test -r ~/.bash_profile && echo "eval \$($(brew --prefix)/bin/brew shellenv)" >>~/.bash_profile
$ echo "eval \$($(brew --prefix)/bin/brew shellenv)" >>~/.profile

# install a hello world package for testing
$ brew install hello
Updating Homebrew...
==> Auto-updated Homebrew!
Updated 1 tap (homebrew/core).
==> New Formulae
artillery                                       locust
==> Updated Formulae
Updated 44 formulae.

==> Downloading https://ghcr.io/v2/linuxbrew/core/hello/manifests/2.10
######################################################################## 100.0%
==> Downloading https://ghcr.io/v2/linuxbrew/core/hello/blobs/sha256:f81d7c0a3eee9fd62ebdecf68
==> Downloading from https://pkg-containers.githubusercontent.com/ghcr1/blobs/sha256:f81d7c0a3######################################################################## 100.0%
==> Pouring hello--2.10.x86_64_linux.bottle.tar.gz
🍺  /home/linuxbrew/.linuxbrew/Cellar/hello/2.10: 52 files, 277.2KB

# test if hello works
$ hello
Hello, world!
Conclusion
Congratulations, you have finished Part 1. You can now completely do nothing to create a software. That’s right, it’s because you have not installed anything to write software such as code editors, programming language (C++, Java, Nodejs, Go, PHP…), database servers. But don’t be afraid, I’ll be back with Part II to get you started on Nodejs, one of the most popular tool nowadays to build both backend and frontend application.
Stay tuned and keep on Engineering!